English
  German
  Spanish
  Portuguese
  French
  Dutch
Dutch  Swedish
  Arabic
What most halo hair extension guides leave out is this: the “best” option isn’t defined by a brand name, and it doesn’t come down to cost. It disappears into your hair so completely that your best friend doesn’t notice. You forget you’re wearing it an hour after you put the halo hair extension on.
Get it wrong, and you’ll spot the difference in every mirror. The wire peeks through at your part. The color looks almost-right-but-not-quite. The texture moves differently from your own hair, catching light at angles that feel… off.
Get it right, and you’ve just unlocked instant length and volume with zero damage, zero salon appointments, and about 60 seconds of effort. This guide will walk you through every decision that actually matters, meantime point out the traps most first-time buyers fall into.
Step 1: Know Your Hair Density Before You Order Halo Hair Extension
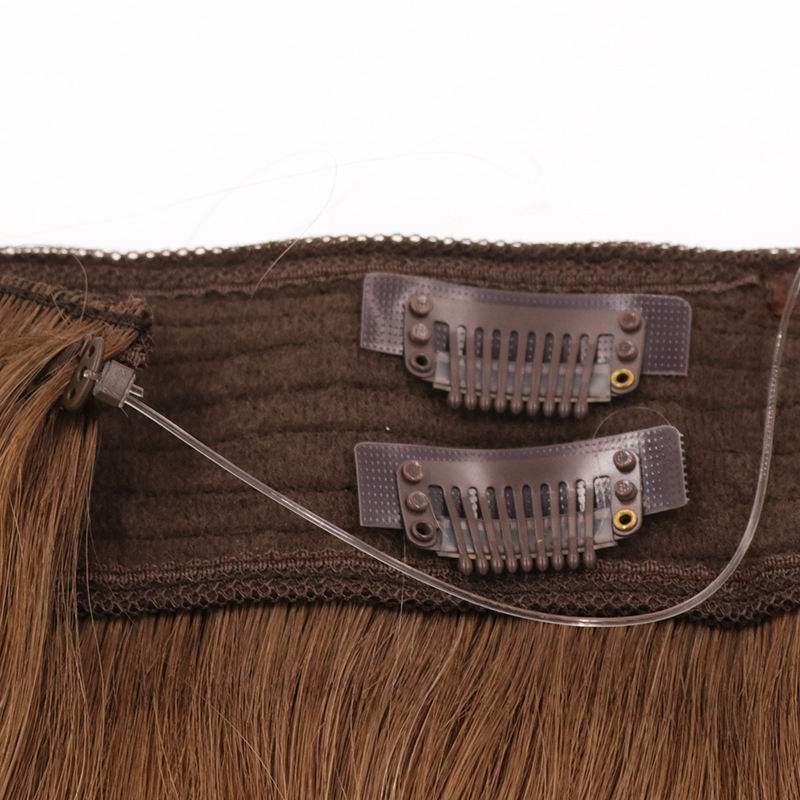
The weight of your halo hair extension isn’t just a number on a product page. It determines whether the extension blends or broadcasts itself.
Fine or Thin Hair→Go Light (100–130g)
If your ponytail is smaller than a quarter, stick to halos in the 100 to 130 gram range. Here’s why: your natural hair has to cover the wire and the weft. Thin hair means less coverage to work with. A thick 200g halo on thin hair forms an obvious ledge, a clear line where the extension abruptly begins. And even heavy backcombing can’t completely disguise it.
Shorter lengths (14–18 inches) also tend to sit more naturally on fine hair. The weight-to-length ratio stays manageable, and the blend looks effortless.
A tip nobody mentions: if your hair is thinning at the crown — common after pregnancy, during menopause, or just with age, place the wire slightly further forward than standard instructions suggest. Moving it up about half an inch gives your front section more hair to pull back over the band. Small adjustment, big difference.
Medium to Thick Hair → Go Fuller (150–200g)
Thick hair can carry more weight without the halo looking separate from your own strands. In fact, too light a halo on dense hair creates the opposite problem: the extension looks stringy and thin by comparison, like it doesn’t belong.
For thick hair, look for double drawn wefts, this means the shorter, wispy hairs have been pulled out, so the halo stays full from root to tip. No thin, transparent ends.
Step 2: Color Matching Halo Hair Extension: Go Deeper Than “Blonde” or “Brown”
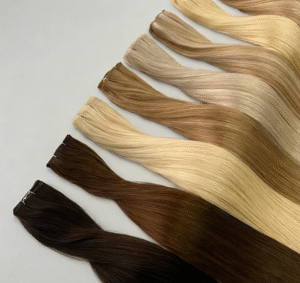
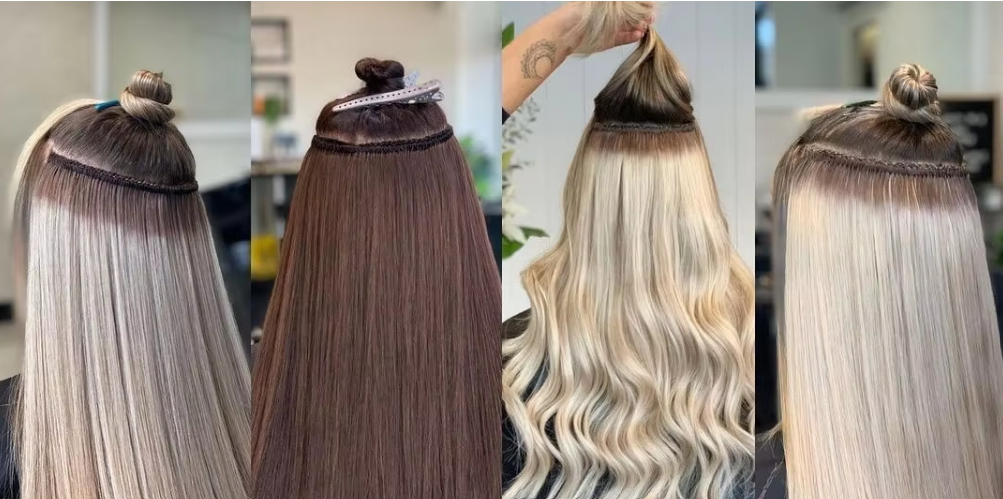
This is where more halo hair extension purchases go wrong than anywhere else. Your hair isn’t one color. It has highlights, lowlights, warmth, coolness, and tones that shift depending on the light. “Dark brown” means something different to every brand.
Here’s how to get the halo hair extensions right the first time:
- Match your mid-lengths and ends, not your roots. The halo sits below your crown. Your roots won’t sit next to the extension, so matching them is pointless. Look at the hair that falls around your shoulders. That’s your target.
- Check your color in natural daylight. Not bathroom lighting. Not ring lights. Step outside or stand near a window. Take photos. You’d be surprised how much warmer or cooler your hair looks in real light.
- Undertones matter more than shade names. Is your hair warm (golden, honey, caramel, copper)? Cool (ashy, platinum, icy, silvery)? Or genuinely neutral? Buy the undertone, not the label.
- Multi-tonal beats single process every time. A halo with balayage, rooted shading, or subtle highlights has built-in camouflage. Even if one tone is slightly off, the variation hides it. A flat, all-over color has nowhere to hide — if it’s wrong, it’s wrong everywhere.
Order swatches. Most reputable brands offer them for a small fee. The cheapest insurance against a $200–$400 mistake.
Step 3: Texture Is the Silent Dealbreaker
You can nail the color and still have a halo that looks wrong — because the texture doesn’t match.
Here’s the rule: buy the texture you actually wear, not the texture you aspire to.
• You flat-iron your hair every morning → buy straight.
• You wash and air-dry, and it dries wavy → buy body wave or loose wave.
• You have natural curls or coils → buy curly or deep wave.
Textures clash in ways that are hard to articulate but instantly visible. A pin-straight halo against naturally wavy hair won’t just look different. It’ll move differently, catch light differently, and fall around your shoulders differently.
Climate note: if you live somewhere humid, coastal cities, tropical climates, anywhere with real summer, straight halos tend to frizz and lose their shape faster. Body wave and loose wave textures are more forgiving in moisture. They roll with the humidity instead of fighting it.
Step 4: The Wire — What Separates Comfortable From Unwearable
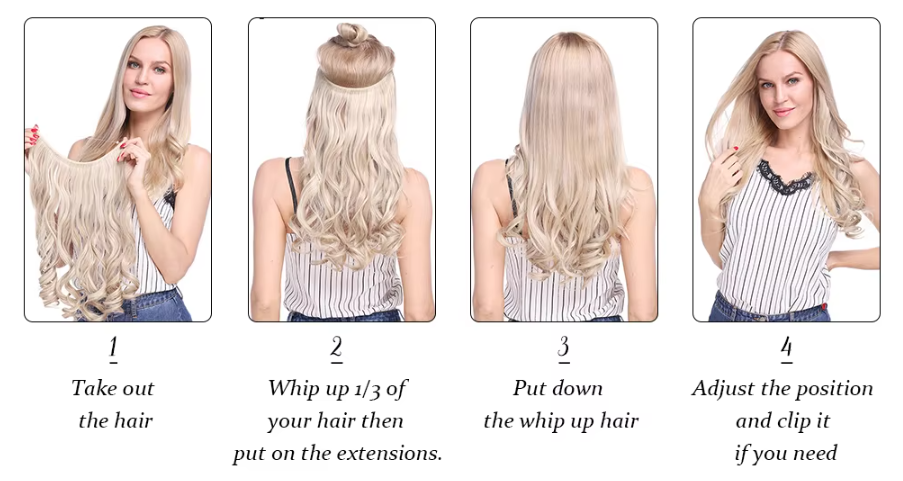
The wire is the part of the halo that actually sits on your head, but most guides barely mention it. Here’s what to look for:
• Thin and transparent or clear-coated. If you can see the wire in product photos, it’ll show through your hair too.
• Adjustable. A one-size wire rarely fits everyone. Choose brands offering various wire gauges or an adjustable system for tightening and loosening.
• Flexible, not stiff. A wire that’s too rigid will press into your scalp and cause a headache within a few hours. It needs structure to stay put, but it should feel like it belongs on your head — not like a torture device.
For sensitive scalps, choose halos with silicone-lined wires or padded wefts. This can help if you have psoriasis, eczema, or a tender scalp. These are still relatively uncommon, but they’re becoming more available. Don’t wear a halo hair extension on wet or damp hair — the extra weight pulls and irritates.
Step 5: The Weft — Where Cheap Halo Hair Extension Cut Corners
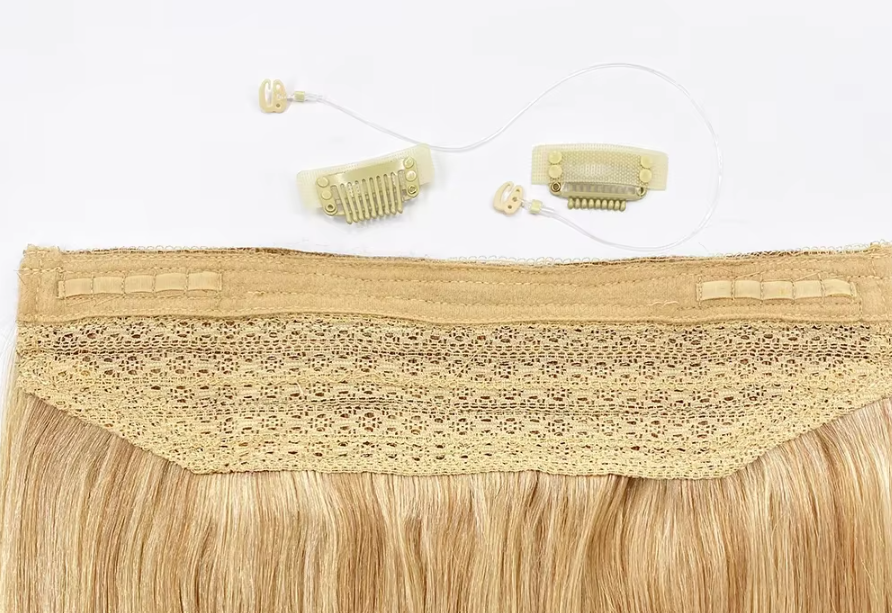
The weft is the stitched edge where all the hair attaches to the wire. A bad weft feels bulky, scratchy, and obvious. A good one lies flat and disappears.
Here’s what separates a quality weft from a cheap one:
| Feature | Good Weft | Cheap Weft |
|---|---|---|
| Drawing | Double-drawn for thick, even density from root to tip | Single-drawn with thin, wispy ends |
| Tying | Hand-tied for a flatter, more flexible weft | Machine-wefted with a thicker, bulkier edge |
| Edge Feel | Smooth and comfortable against the scalp | Scratchy or rough against the scalp |
| Density Distribution | Even fullness from end to end | Uneven density with thicker and thinner sections |
You can feel the difference the moment you run your fingers along the edge. If it’s scratchy in your hand, it’ll be uncomfortable on your head after a full day of wear.
Step 6: What Nobody Tells You About Length
Longer isn’t always better. The most realistic halo hair extensions are usually no more than four inches longer than your own hair.
When your natural hair and the extension are close in length, the blend is almost automatic. The two lengths flow together without obvious layers or transitions. When you push 6+ inches past your natural length, you need to work for it — curls, waves, teasing, product.
The smarter approach: prioritize fullness over length. A halo that adds body, bounce, and density at 18 inches usually looks more natural. It often looks more expensive than a 22-inch halo that feels thin.
Face shape plays a role here too:
• Longer face shapes → collarbone-length halos (16–18″) can add width and balance.
• Rounder face shapes → longer lengths (20″+) tend to elongate.
• Heart-shaped faces → mid-lengths with layers soften the jawline.
Step 7: Real Hair vs. Synthetic: Don’t Cheap Out Here
A $60 synthetic halo hair extension might look fine in the product photos, but here’s what happens in real life:
- Synthetic hair has an unnatural shine that reads as “plastic” in daylight. It tangles within hours. You can’t use heat tools on it, one pass with a curling iron and it melts. And it starts looking frayed after maybe 10–15 wears. It’s fine for a costume or a single night out, but not for anything you want to look good in photographs.
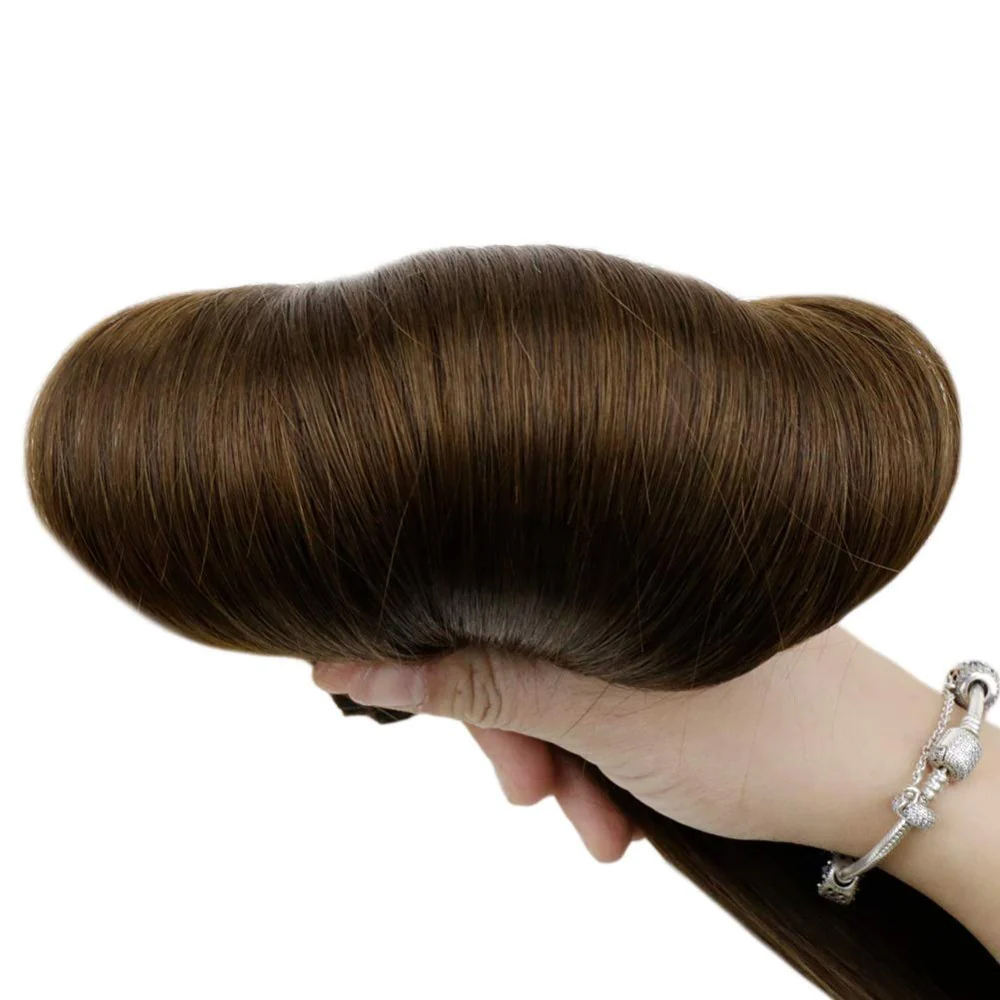
- Remy human hair is the real deal. We keep the cuticles intact and aligned in the same direction, so the hair stays soft, smooth, and tangle-free for months. You can curl it, straighten it, and even dye it darker. With proper care, a Remy halo can last 12–24 months of regular wear.
If you plan to wear your halo hair extension more than a handful of times, the math is simple: a $300 Remy halo worn 50 times costs $6 per wear. A $60 synthetic worn 5 times costs $12 per wear. The cheap option is actually more expensive.
Step 8: The 30-Second Comfort Test for Halo Hair Extension
When your halo extension arrives, here’s a quick test before you commit to keeping it:
- Put it on. Position the wire as instructed. Let your natural hair fall over it.
- Walk around for 5 minutes. Does the wire shift? Does it press uncomfortably anywhere?
- Look in natural light. Avoid bathroom lighting; move toward a window.Check from the side and back. Any obvious lines?
- Shake your head gently. Does the halo stay put, or does it slip?
- Take a photo with flash. This reveals color mismatches that your eyes might miss.
If it passes all five checks, you’ve probably found your match. If something feels off, trust that instinct, those small annoyances multiply after a full day of wear.
Before you buy the halo hair extensions, run through these 8 questions:
- Density: Is the weight (grams) matched to your hair thickness?
- Length: Is it within 4 inches of your natural hair?
- Color: Did you match undertones and check in natural light?
- Texture: Does it match how you actually wear your hair?
- Hair quality: Is it 100% Remy human hair — not a blend?
- Wire: Is it adjustable, thin, and transparent?
- Weft: Is it double-drawn and hand-tied?
- Return policy: Can you try it at home and return it if the color is off?
The best human hair halo extensions isn’t about the brand name or the price tag. The match is about your density, your color, your texture, and your life.
If you walk away from this guide with one thing, let it be this: take your time with the color. Order the swatches. Check your hair in daylight. That one step eliminates 80% of the problems people have with halo extensions.