Comment poser des extensions de cheveux avec du ruban adhésif
Learn how to install tape-in hair extensions step by step. Discover tips for a natural, seamless look, proper placement, and long-lasting results.
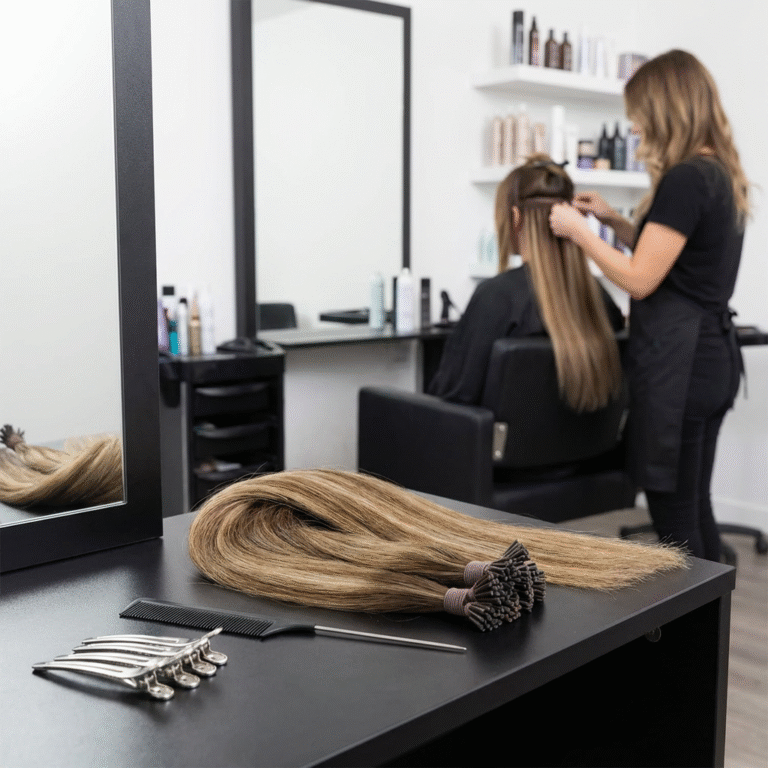
Extensions de cheveux avec ruban adhésif are a popular and versatile method for adding length, volume, and style without damaging your natural hair. Lightweight, reusable, and quick to apply, they are ideal for both professional salons and at home styling. Whether you’re a stylist or a client looking to transform your look, understanding the proper installation method ensures a flawless, natural finish.
What You Need Before Installation
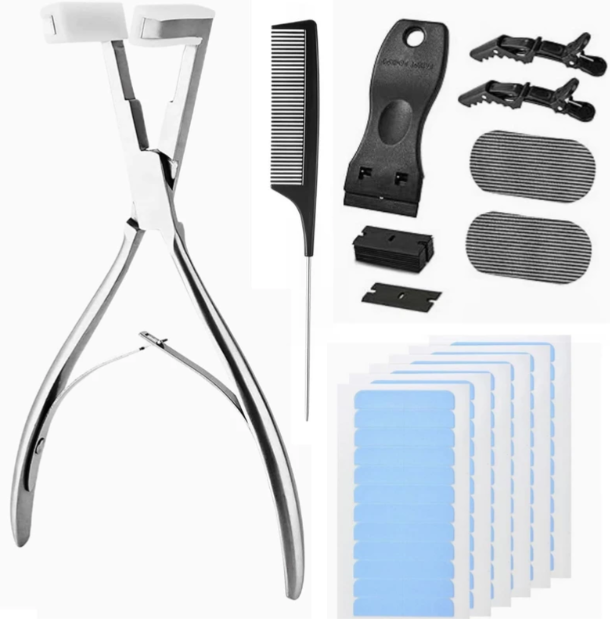
Before you start, gather the following tools and materials:
- Tape-in hair extension strands
- Sectioning clips
- Tail comb
- Alcohol or cleansing wipes
- Optional: heat press or flat iron for added adhesion
For the best results, ensure your natural hair is clean, dry, and free of oils or styling products. Proper preparation helps the adhesive bond securely and prevents premature lifting.
Tape-In Hair Extension Product Selection Tips
Choosing the right materials makes installation easier, ensures a natural finish, and maximizes reuse. Consider hair quality, tape width, adhesive type, and storage practices to get the best results for salon clients.
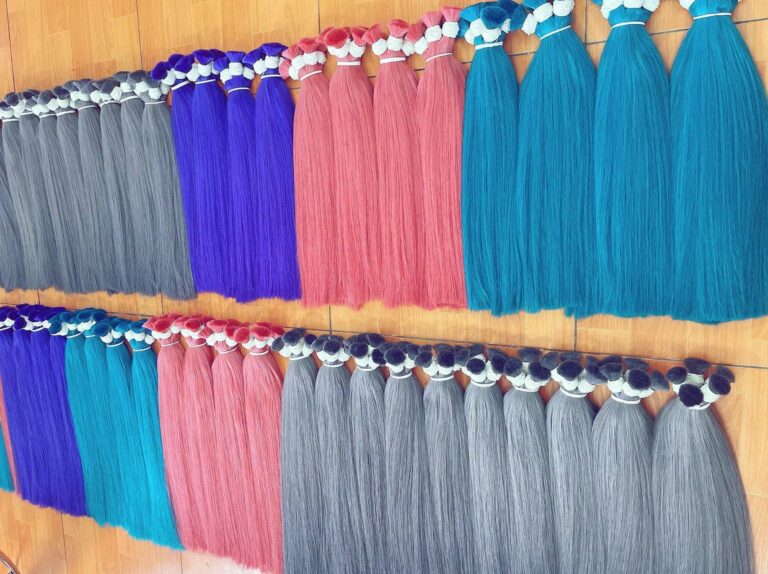
Qualité des cheveux : For salons focused on repeat business, select full cuticle Remy hair or single donor human hair. Avoid acid baths and heavy silicone coatings. Proper cuticle alignment reduces tangling, extends wear, and allows multiple reuses. Economy coated hair may look shiny on the first day, but it often frizzes and dries out after a few washes.
Tape Widths: Standard 4 cm tapes work well for most head areas, while 2–3 cm micro tapes are ideal for temples, crown edges, or short layers. Keeping widths consistent across rows ensures a clean, balanced look.
Adhesive Type: Use medical grade, heat resistant, and humidity tolerant adhesives. For clients with oily scalps or active lifestyles, select a stronger, sweat-resistant formula and shorten repositioning intervals to maintain a secure hold.
Color and Root Shades: Rooted or shadow-root tapes help conceal the adhesive near partings. Mixing tones across rows creates depth and a more natural finish, reducing the need for color adjustments later.

How many tapes are needed for a full head?
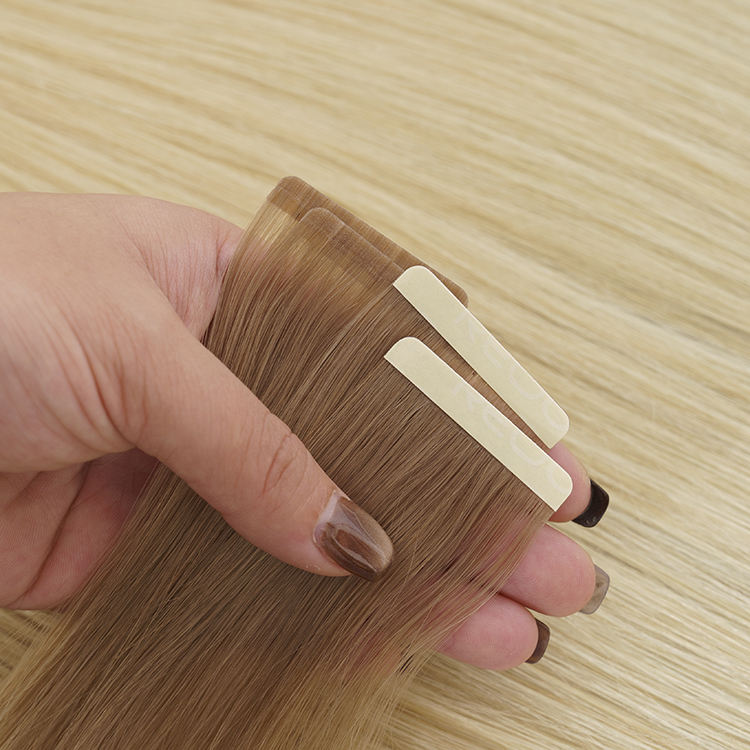
Tape in extensions come as small strips with adhesive at the top. During application, stylists create a “sandwich” by placing a section of natural hair between two strips. One sandwich equals two tape panels. Most extension packs include 10–20 sandwiches. For a full head, you typically need 40 to 60 sandwiches, depending on hair thickness and desired volume. Once you know how many sandwiches you need, calculating the total number of tape panels becomes much easier.
- For a boost of volume only: 20-30 sandwiches (that’s 1-2 packs).
- For length + volume: 40-60 sandwiches (2-3 packs).
- For thick or short natural hair: 70-80 sandwiches (3-4 packs).
How to Install Tape In Hair Extensions: Step-by-Step Guide
Step 1: Prepare for Installation
Before starting, ensure you have the correct amount of extensions to achieve the desired look. Each pack of tape in hair extensions typically contains 5 sandwiches (10 pieces). Depending on hair density and volume requirements, salons may use 3–6 packs for a full head blend seamlessly. Planning ahead ensures consistent coverage and a professional finish.
Step 2: Prepare the Hair
For a secure bond, the natural hair must be clean and free from oils or styling products. Avoid:
❌ Conditioner
❌ Hair sprays or styling products
❌ Residual oils
Proper preparation maximizes adhesive performance and extends the lifespan of the tape-in extensions.
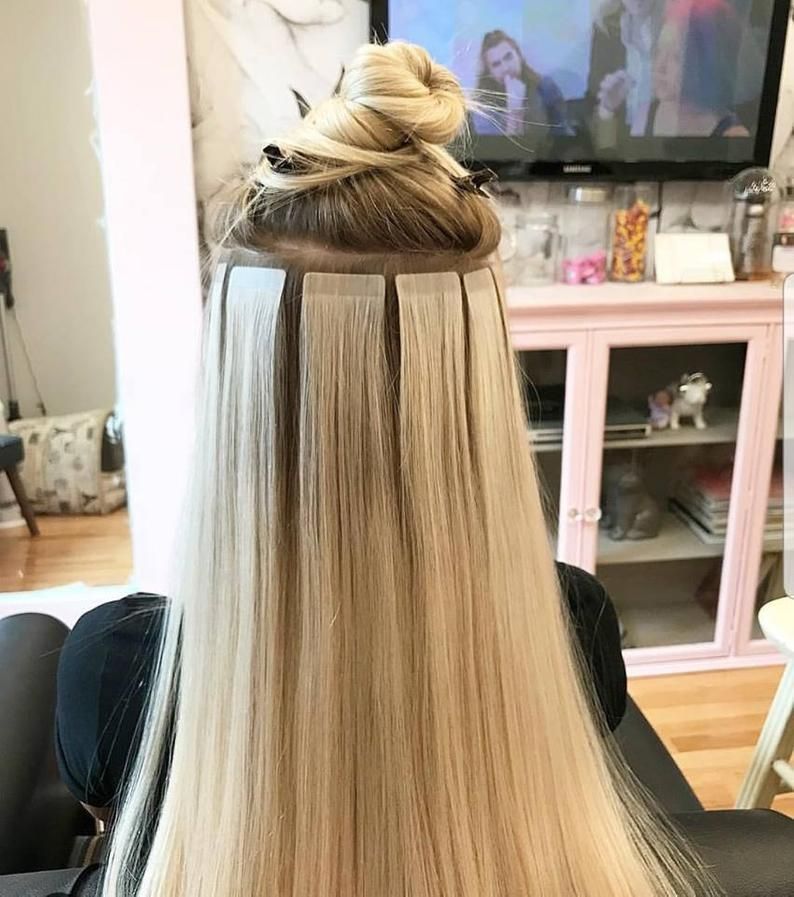
Step 3: Section the Hair
Start at the back of the head and create even, horizontal sections, clipping away the top layers. Proper sectioning ensures uniform placement and a natural blend.
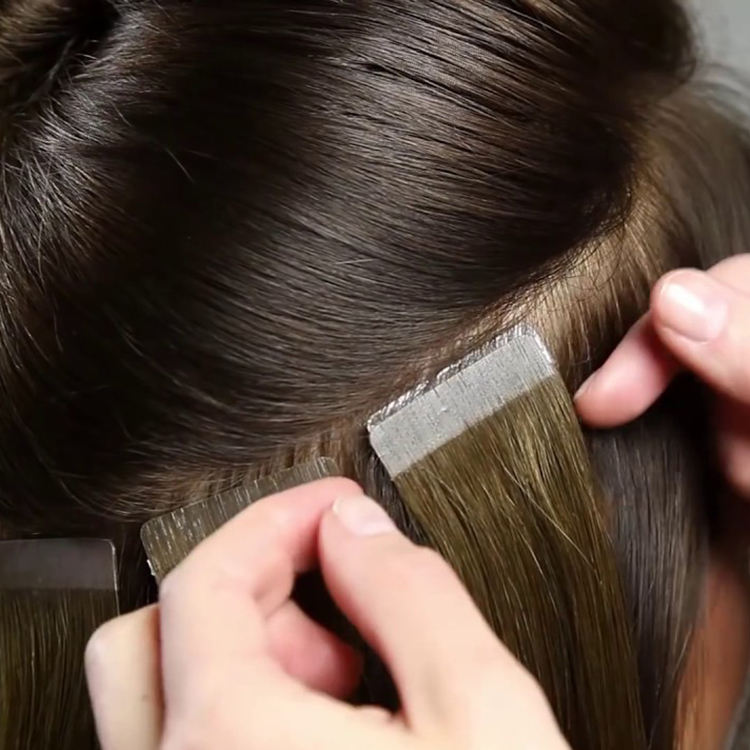
Step 4: Apply the Tape-In Extensions
- Remove the protective backing from the adhesive.
- Place the first tape ¼ inch from the scalp under the natural hair section.
- Position the second tape directly on top, sandwiching the natural hair between the two strips.
- Gently press or use a low-heat flat iron to secure the bond.
Step 5: Ensure Proper Placement
- Keep all tape-ins horizontal to prevent tension on the scalp.
- Use a brick-layer pattern to stagger rows for a seamless, natural look.
- Maintain consistent spacing between rows for balanced volume.
Step 6: Blend and Finish
- Use a loop brush or gentle comb to detangle and blend extensions.
- Check that the weight is evenly distributed to prevent strain.
- For fine hair, position tape-ins slightly back from the hairline for a discreet finish.
Step 7: Professional Installation Recommended
Tape in extensions are user-friendly, but professional application ensures maximum longevity, comfort, and seamless blending. Stylists should follow these steps for the best salon-quality results.
Tips for a Natural Look
- Place the tape-in extensions in layers that follow the natural flow of your hair.
- Avoid placing extensions too close to the scalp or hairline.
- Blend with your natural hair by lightly trimming or styling after installation.
Following these tips ensures the extensions remain discreet and move naturally with your hair.
Maintenance and Care
- Wash your hair gently, avoiding direct contact with the adhesive.
- Use sulfate-free shampoos and conditioners to prolong wear.
- Reposition or replace tape-in extensions every 6–8 weeks for best results.
- Avoid excessive heat or oily products on the tape area to prevent lifting.
Proper care helps maintain the adhesive’s hold and keeps both your natural hair and extensions healthy.
Common Mistakes to Avoid
- Installing too many extensions in one section, which can cause discomfort or visible lines.
- Applying extensions on oily or wet hair, leading to poor adhesion.
- Pulling or tugging on the extensions, which can damage natural hair.
Being mindful of these mistakes ensures a safe and long-lasting result.
Conclusion
Tape in hair extensions are an easy, professional, and reusable way to achieve longer, fuller, and more stylish hair. By following proper installation, placement, and maintenance guidelines, you can enjoy a natural, seamless look with minimal damage to your own hair. Whether for salon clients or at-home styling, tape in extensions offer flexibility, comfort, and a beautiful transformation.